

The sun finally popped its pretty little head out for just long enough for me to snap some pictures of a few completed projects. So, we get a blog post and a new tutorial! Huray for sunshine! You know, I've never bought a single dress that had this sort of waist. The waist always has seemed to hit at an awkward and unflattering spot, so I've always shunned them. I've seen some lower waisted ones about lately, and decided to give one a shot. I'm really quite in love with this style now...so super comfy!

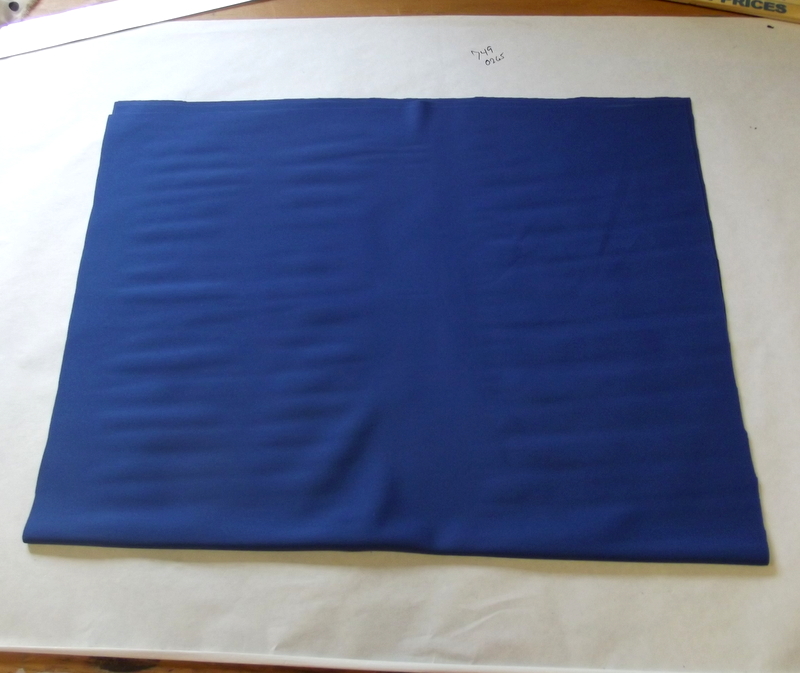
Here is how you do it. First you cut out the top section, or the shirt part of the dress. Cut a rectangle as wide as you are plus an inch. Make the length long enough to hit your hips. About 27 inches is what I used for the length. Cut a neck hole in the rectangle. I wanted a boat neck, so I did a 5 inch wide by 3 inch deep curve on the fold. I like to taper in the sides under the arms a bit for it to have a bit more shape to it. Make sure to have happy music playing on your phone, and a tall cup of coffee sitting near by for the optimum sewing experience.

Now for the skirt part, you need another rectangle. This should be as wide as your shirt was, and as long as you want it to be. Mine was only 16 inches, but I think I'd do it just a hair longer next time.
Now, sew up the sides of both the shirt part and the skirt part. Leave a 9 inch opening for the arms.

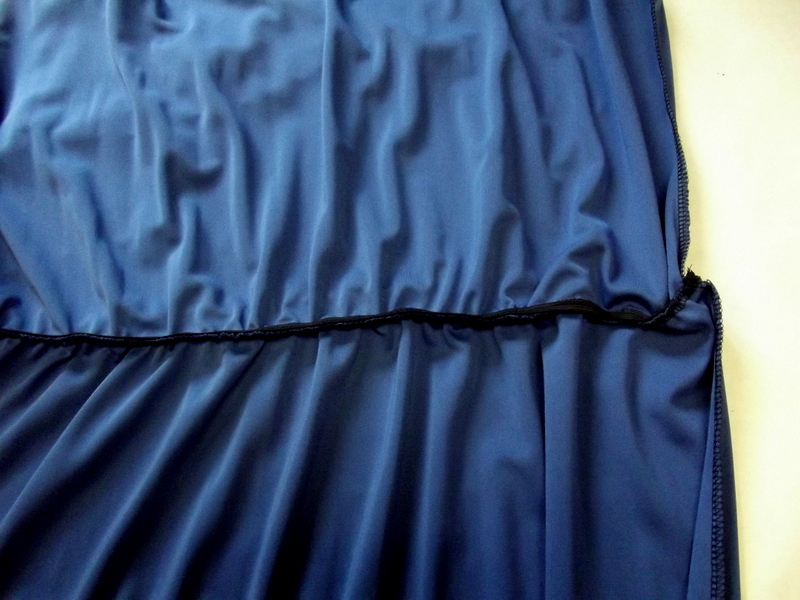
With RIGHT sides together, slip the skirt into the shirt. Pin the side seams.

Sew the two sections together. It should look like so.

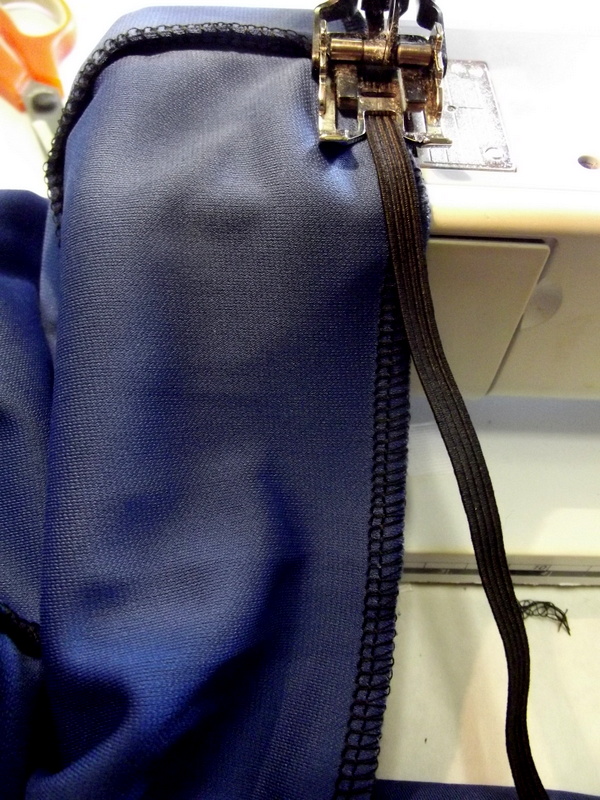
Now you need some elastic. I believe mine was 1/4 inch, and I cut long enough to fit around my hips snugly.

Sew it on to the waist seam using a narrow zigzag stitch. Notice, I'm still using my walking foot...I'm pretty much addicted to that thing...makes everything just sew together so smoothly! That was money well spent for sure! Pull the elastic nice and tautly while you are sewing it.
Now your waist seam should look like this.
I decided to sew little decorative tabs on the sleeves. They just seem to add the right touch to this style sleeve.

That's all there is to it!

It looks rather funny just hanging on the hanger doesn't it? That's ok, because its fab to wear.

You'll like it best in cobalt blue...but, I'm not telling you what to do or anything...I'm just recommending. Throw on some tights, boots and a cute scarf, and you'll be set for cold weather too. This dress will also be available for purchase in my Etsy shop, if you're more the shopping type than the sewing type.
If you make one, I wanna see! I just love to see your spin on things! Have a happy week!
Philippians 4:6 Be careful for nothing; but in every thing by prayer and supplication with thanksgiving let your requests be made known unto God.

This is so cute! About how much fabric did you start out with? Did you use a knit?
ReplyDeleteAlison
Alison,
DeleteI used about a yard and a half of matte polyester knit. It has a slight stretch, but not very much. Hope that helps!
Abby
Wonderful, I'll go this week to buy some fabric, I hope to find something nice to try this dress!
ReplyDeleteHave a nice week!
Carmen
That is so ooooo cute! I am going to try my hand at that! I'm not a crafter, eventhough I joined this crafter area site. But you never know!
ReplyDeleteI do more stuff with thrifting and repurposing stuff more.
oh well, want to join my site? I'm joining your right away.
It is fab! I like the sleeve detail you added. Excellent tutorial. If you're looking for a new place to share your creative projects, come over to Etcetorize. Party is still on and I'd love to see you there!
ReplyDeleteGreat tutorial. I have a link party, and I would love it if you would link this post. You can find it at
ReplyDeletehttp://www.adornedfromabove.com/2012/07/face-cleansing-oil-and-wednesdays.html
It is called Wednesdays Adorned From Above Link Party.
I hope to see you there. Have a great Day.
Debi Bolocofsky
Adorned From Above
www.adornedfromabove.com
Love this dress- makes me want to get my sewing machine out again.
ReplyDeleteThis is EXACTLY the tutorial I needed to find. I have a fabric that is perfect for this, and I was thinking of making a dress with this design style. Thanks for sharing!
ReplyDeleteI hope you will consider sharing this with SewSet as well!
Thanks again!
- Jess, SewSet.com
This comment has been removed by the author.
ReplyDeleteWhat a darling dress! I'm so impressed with your sewing prowress that you just went for it with no pattern. It looks amazing, too, just like something you'd find off the rack. Brava.
ReplyDeleteSarah
Cable Car Couture
I loved as much as you will receive carried out right here.
ReplyDeleteThe sketch is attractive, your authored subject matter stylish.
nonetheless, you command get got an impatience over that you wish be delivering the following.
unwell unquestionably come more formerly again
as exactly the same nearly a lot often inside case you shield this increase.
Visit my web site - smart business
I need somebody to make me a dress like this ASAP?! Please?????
ReplyDeletecould you tell me how you did the neck line? a simple rol hem? or binding?
ReplyDeleteI'm glad that I read your article, editing research paper because I now understood the basic nuances when creating such models of dresses with a loose waist.
ReplyDeletesemplice e molto bello questo vestito
ReplyDeleteDress Cutting tutorial is so good. After sewing this looks beautiful too. New styles are always loveable.
ReplyDelete